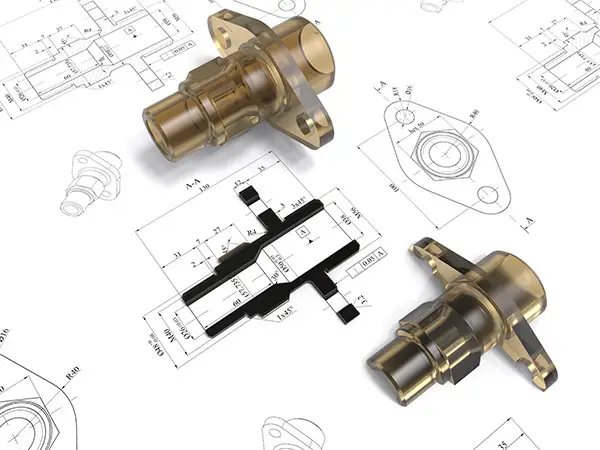
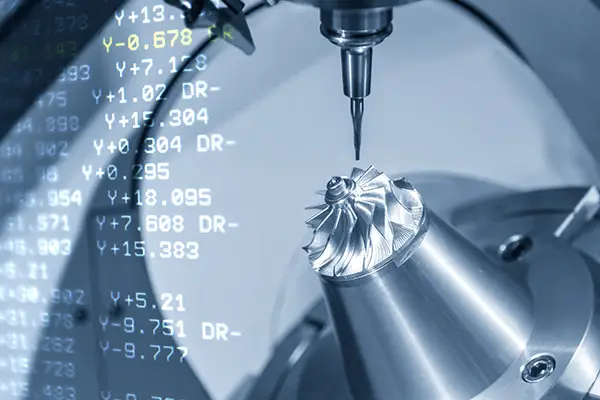
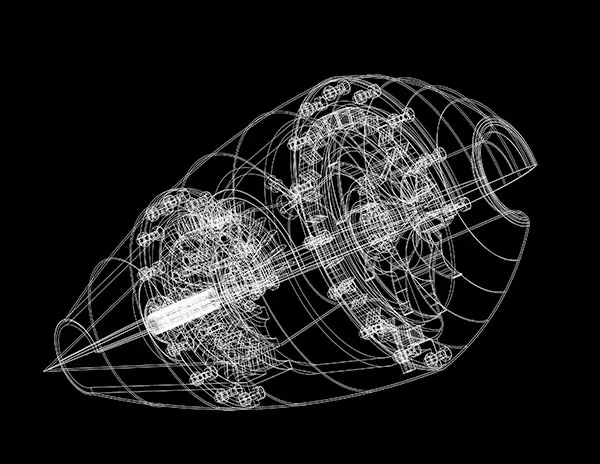
With the latest machine tool technology, it is possible to predictably manufacture components within a few tenths (ten thousandths of an inch) using virtually any type of material. This makes it possible to significantly tighten specification tolerances. The question is, how you do this consistently, and in a manner that produces the best assemblies?

Traditional spc software (statistical process control) and Six Sigma quality initiatives focus on variation control (represented by Cp). But as a process gets closer to the spec limits, the resulting increase in the probability of defects may force Cp to rise to unrealistic levels in order to compensate. To avoid this, one must focus on the nominal, and on variation specifically around the nominal, rather than simply trying to get the feature measurement result inside the specification. The Taguchi method emphasizes this principle. Rather than trying to limit variation in order to decrease the probability of defects, the nominal is picked as the target, with variation occurring around that fixed point. The goal is to create a mathematical centerline of the process that overlays the nominal.
To help explain why this is essential, we should consider the concept of tolerance stack-up. Let's suppose that a part is being manufactured on a traditional CNC machine. The operator does not receive any credit for making a part with a process whose centerline is at the nominal; rather, the operator will be penalized for scrapping out any part, so they are forced to put in offsets that cause the machine tool to leave the maximum amount of material on a surface (or to minimize the size of a hole) to best reduce the chance of scrap.

The end result of this is that the customer will receive the heaviest possible part, and the part will not fit properly into an assembly -- and they still have to pay for it! When you combine 200,000 airplane components made in this manner, it becomes impossible to assemble the completed airplane without shims and workarounds. In effect, it makes every aircraft a one-off and significantly increases the cost of maintenance. In addition, the aircraft will exceed its design weight because all of its components are heavier than their respective design weights. Almost all new aircraft and engines, when assembled, are 2-3% heavier than designed, with the root cause being the way their components were manufactured.
There isn't necessarily a problem with the machining equipment. The rifle may be accurate, but it needs to be aimed at the right target. Capability can't be assessed only by the ability to make parts within tolerance; it must also account for the ability to manage the variance of a manufacturing process around a target nominal that will provide the design weight and the design fit.
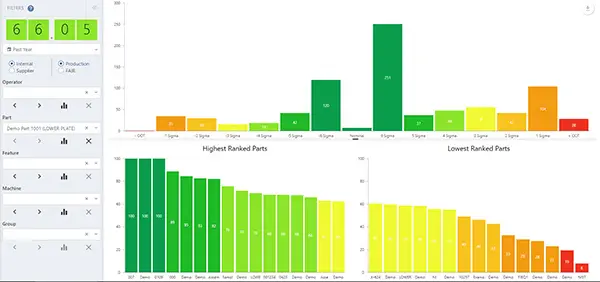
The distribution of measurement points within the spec can be represented graphically, separated into traditional sigma zones. Having this depth of information available makes it easy to identify outliers, examine their root causes, and implement corrective actions that move such points closer to the nominal.

Net-Inspect's Capability Charts not only provide this level of detail, but also examine the amount of variation to produce a score from 0-100 (like a credit score), making it easy to rank all aspects of your manufacturing process. Process improvement is simply a matter of setting a higher target for a part, feature, or machine. For instance if a feature currently has a score of 40 and you wish to improve it to 60, then a simple analysis of the outliers and the root causes behind the drift away from nominal allows you to move those features closer to the nominal, immediately increasing their score.
Most Six Sigma guides start by asking the reader to identify projects for improvement. (The "Capability Score" described above will allow projects to identify themselves -- they will have the lowest overall scores.) But while these instruction books then give you a thesis on the mathematical basis for Statistical Process Control (SPC), including lots of charting and calculations of probability of defects, they provide little advice on what to do next.

This may explain why traditional Six Sigma projects tend to produce "elastic" process improvement: things return to their previous state very quickly. Real process improvement can only occur when there are systems in place that capture measurements accurately and in real time, providing the gradation needed to determine in real-time why processes are varying, and whether they're improving or getting worse. Measurement monitoring must also be tied to direct action, undertaken to determine whether root causes and the corrective actions are effective.
In short, process improvement is a continuous process. To date, traditional methodologies have attempted to turn it into a onetime snapshot followed by recommendations for improvement. With no follow-up, there is no ability to identify whether process improvements were effective. To learn more about Net-Inspect's solution, which provides a new methodology incorporating Statistical Process Control, real-time visibility, and a visual gradation of process variability, contact the Net-Inspect Team at +1 425-233-6176 or [email protected]. And if you would like a live demo or phone consultation today, then click the Contact Us button below.

